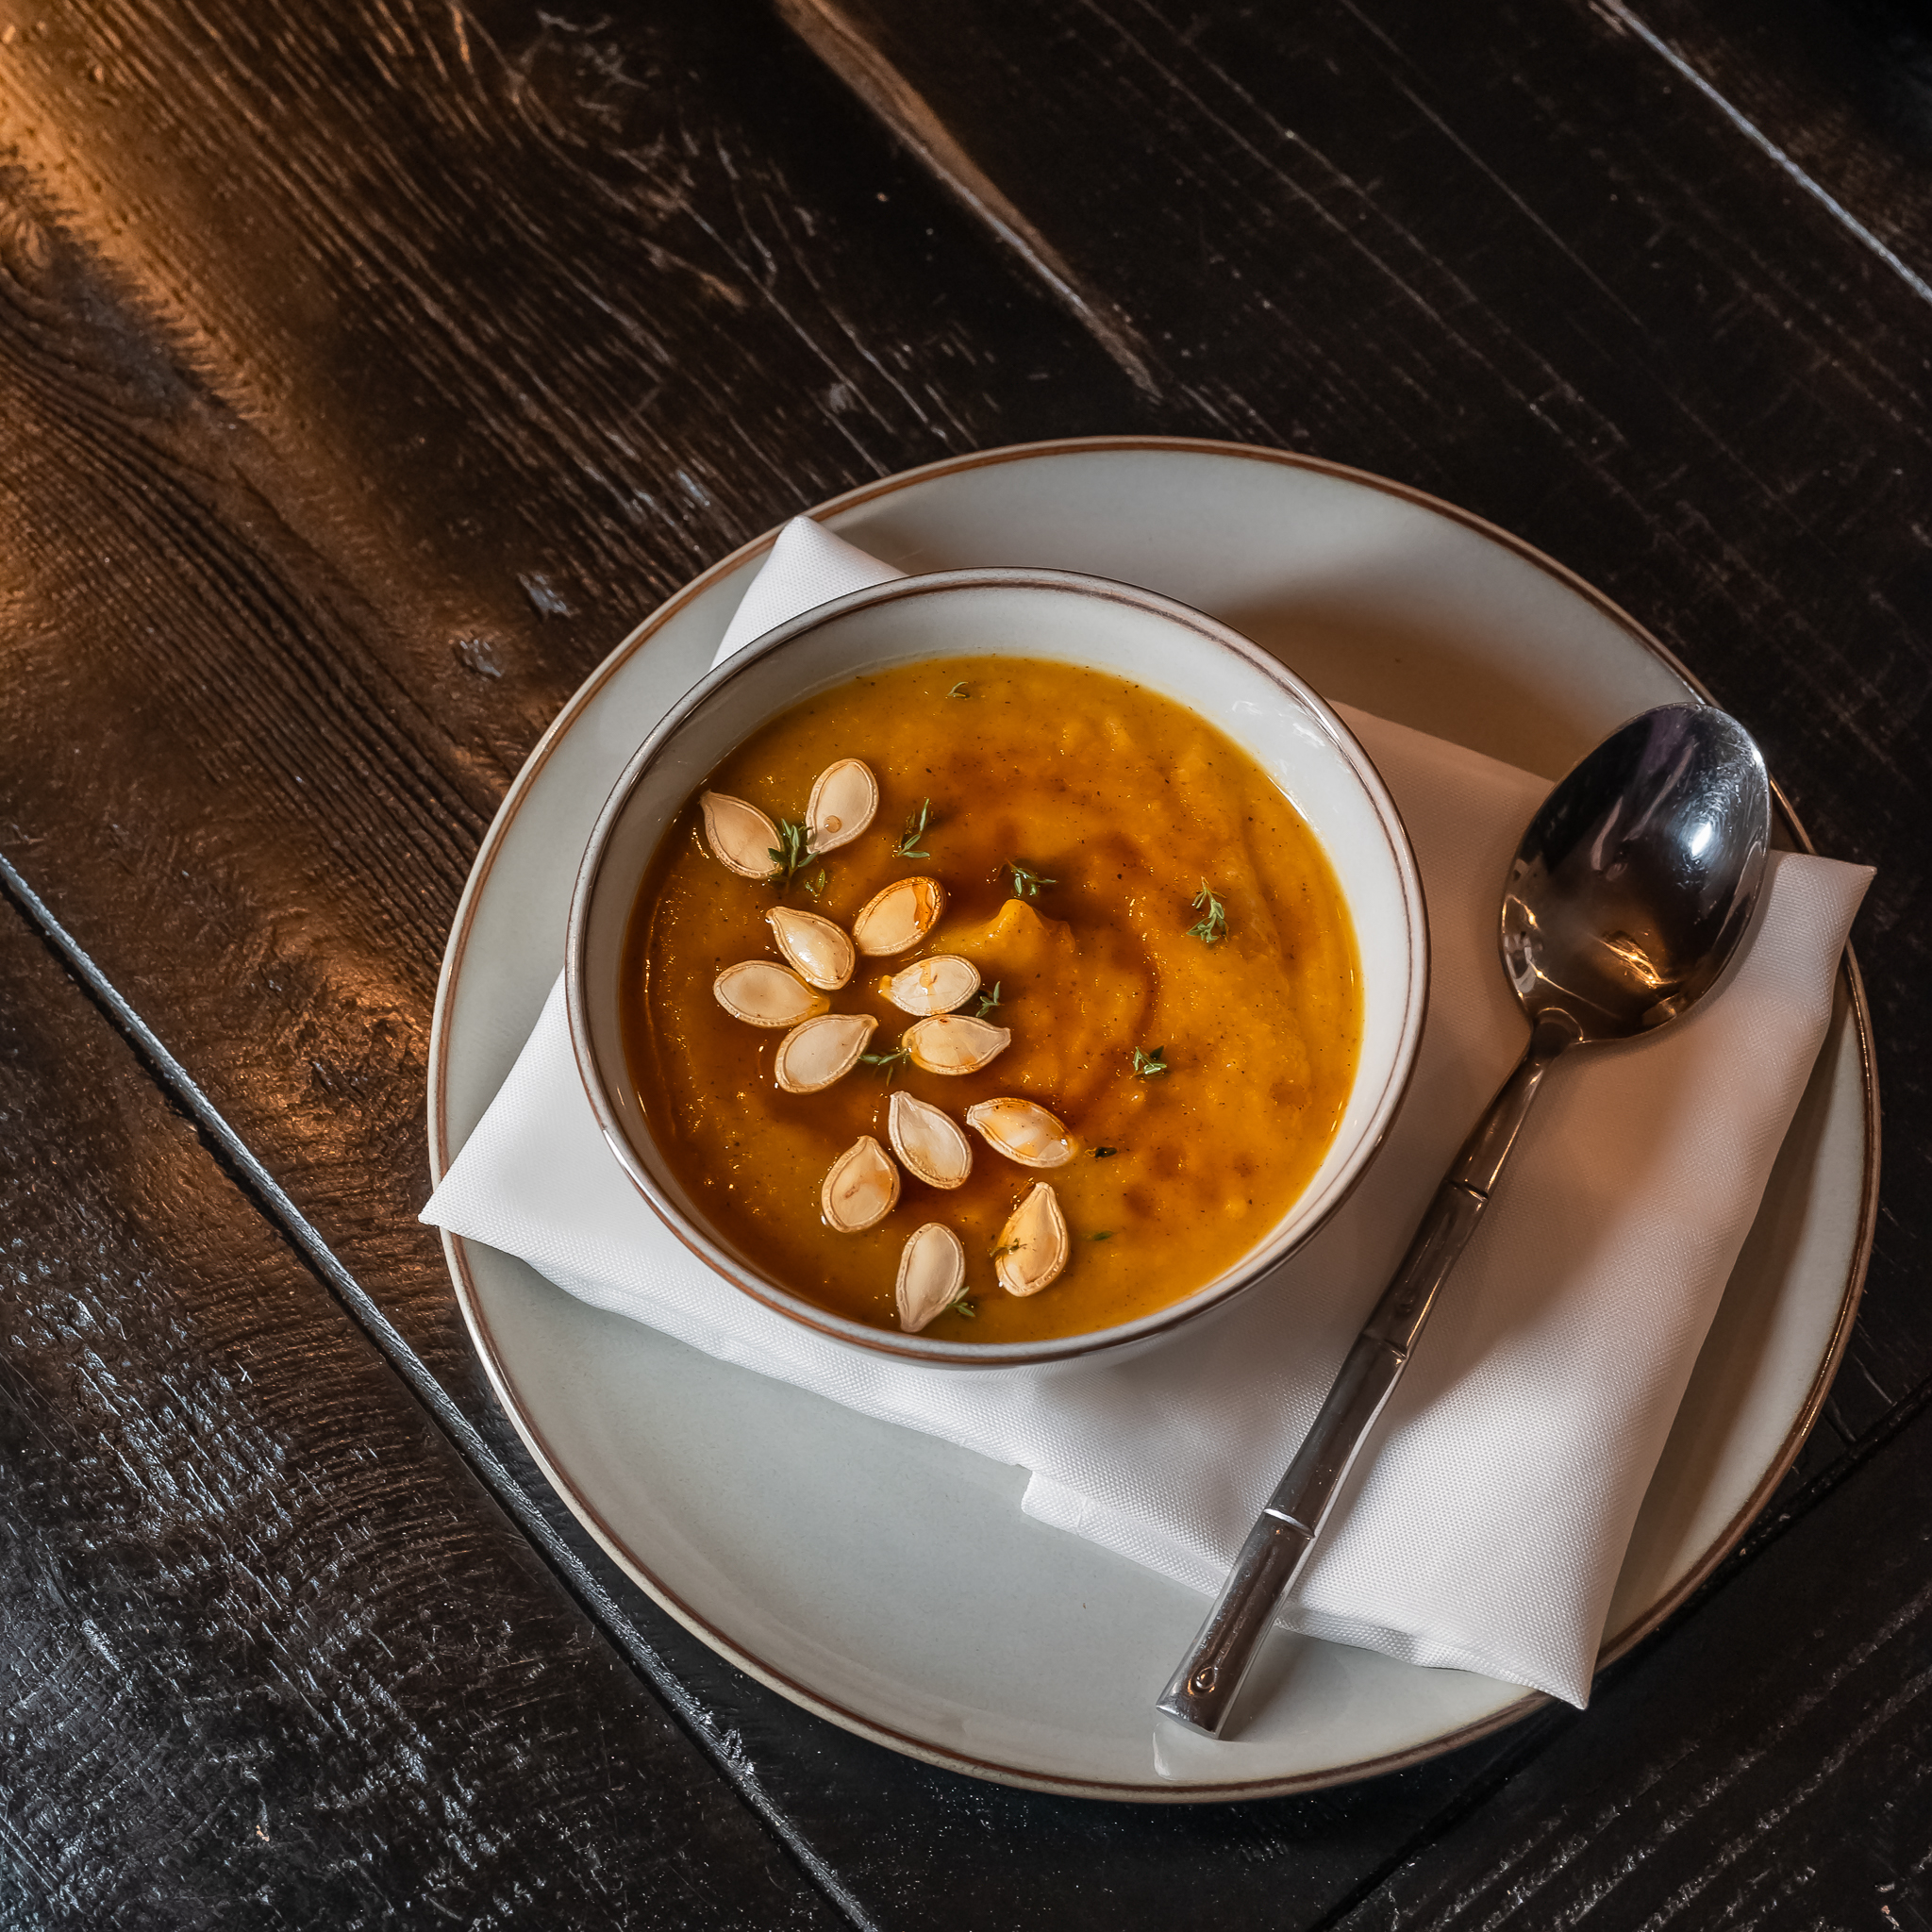
Sweet Potato Bisque
This sweet potato bisque came out of a private chef seasonal menu tasting in Providence, late October. The clients had booked a private chef dinner through Partum Events and sent me the most interesting brief I’d gotten all fall: they didn’t want a list of dishes. They wanted the menu to taste like October. That phrase sat with me for a few days before I started planning.
Some links in this post are affiliate links. If you buy through them, I may earn a small commission at no cost to you. I only recommend gear I actually use in my private chef kitchen.
That’s actually a harder brief than it sounds. October isn’t one thing. It’s the last warm afternoon before the cold locks in. It’s the smell of something roasting in a house with the windows still cracked. I knew the menu had to open with something that landed that feeling immediately. One bite and you’re there. Not in a restaurant. In October.
This sweet potato bisque was that first course. Roasted sweetness, a hit of nutmeg, a little maple pulled back just enough so it doesn’t read as dessert. I served it in shallow bowls with crème fraîche and toasted pepitas, and when the first guest took a spoonful, she looked up and said, “This tastes like something I remember but I can’t place it.” That’s the whole brief, right there. A memory they didn’t know they had.
Why This Sweet Potato Bisque Recipe Works
In fact, most sweet potato soups are too sweet or too thin. They lean into the maple and forget that sweetness needs contrast to taste like anything. On the other hand, they skip the fat and wonder why the texture feels flat. This bisque does a few things differently.
First, the shallots get cooked low and slow before anything else touches the pan. That’s not decoration. Shallots have more sugar than onion, and if you rush them, they stay sharp. Give them time and they go sweet and silky. That’s the flavor base everything else builds on.
Secondly, the fat comes in twice. A little olive oil at the start for the aromatics. Butter and heavy cream go into the blender at the end, after the cook. That matters. If you add cream too early, it can break or go grainy. Add it cold, right before you blend, and you get a texture that’s almost glossy.
And the maple is a finishing note, not a main ingredient. One teaspoon per serving. You want it in the background, not the foreground.
What You Need
Sweet potatoes. Two pounds for four servings. I cut them into rough one-inch dice with a Cutco prep knife so they cook evenly and fast. Don’t bother with uniformity here. The blender handles everything.
Shallots. Four small shallots, sliced. Not white onion, not yellow onion. Shallot has a cleaner sweetness that doesn’t fight the potato.
Garlic. Four cloves, minced. Added at the end of the aromatics cook so it doesn’t burn.
Vegetable broth. About four cups, maybe a little more. I add it just to barely cover the potatoes, not to flood them. More broth means a thinner bisque and a diluted flavor. You can always add more at the end.
Heavy cream. Eight tablespoons, added at the blender stage. This is what makes it a bisque and not a soup.
Butter. Two tablespoons. Goes in the blender with the cream. This is your gloss. Do not skip it.
Maple syrup. Four teaspoons. Real maple. The fake stuff has a plastic edge to it that you can taste once you know what to look for.
Nutmeg. Half a teaspoon, freshly grated on a Microplane zester if you have the whole pod. Pre-ground is fine. A small pinch of cinnamon is optional. I used it that night. It reads as warmth, not as spice.
White pepper. A pinch. White pepper has a floral heat that black pepper doesn’t. In a pale bisque, it keeps the look clean and the flavor round.
For garnish. Four tablespoons of toasted pepitas, two teaspoons of maple syrup for a drizzle, a small handful of microgreens, crispy shallots, and half a cup of crème fraîche, thinned slightly with cream if you want to do a swoosh.
How to Make Sweet Potato Bisque
It was a Tuesday evening in late October, the kind of night where it gets dark fast and the air already smells like the season is wrapping up. The Providence kitchen was well-stocked and comfortable, which is not always a given. I started with the bisque first because it needed the most passive time and I could let it do its thing while I worked on the rest of the menu.
Olive oil went into a Misen stockpot over medium, then the shallots with a pinch of salt, and I left them alone. That’s the whole instruction for the first four minutes. I didn’t stir constantly. I let them sit against the heat and go translucent. The salt pulls the moisture out and speeds up the process. When they looked glossy and soft, I added the garlic for thirty seconds. Just until it was fragrant. Burned garlic at the base of a bisque will ruin the whole batch and there’s no saving it.
After that, I added the sweet potatoes and stirred them through the aromatics so every piece got coated. I poured in the broth until it just barely covered the potatoes. Not a lot. For seasoning, I added salt, white pepper, nutmeg, and a small pinch of cinnamon, and then brought it to a simmer.
💡 Don’t Over-Liquid: Adding too much broth dilutes the sweet potato flavor before you ever get to the blender, and you can’t fix that later without reducing for an extra twenty minutes.
I let that cook for about thirteen minutes. Poked a piece of sweet potato with a knife. No resistance. That’s when I pulled it.
Blending the Sweet Potato Bisque
Next, everything went into the Vitamix, including all the liquid. I added the heavy cream, the butter, and the maple syrup. Then I put the lid on, held a towel over it, and ran it on high. You have to hold the lid on hot liquid. I don’t care how tight the lid says it is. I’ve seen bisques redecorate kitchens.
💡 Butter Goes in the Blender: Adding butter cold at the blending stage, not during the cook, is what gives the bisque that glossy, almost satiny finish. Cook it in and the texture turns flat.
Then Meanwhile, I blended for a full ninety seconds. Not thirty. Not until it “looks smooth.” A full ninety seconds. The texture difference between sixty seconds and ninety seconds in a blender is real. At sixty you can still feel trace fiber. However, at ninety it’s silk.
After that, I tasted it. It needed a little more salt. Added it, blended for another ten seconds. Finally, I poured it back into the pot over low heat to bring it back to serving temperature. I did not let it boil. If you boil cream-based soups, they split. Therefore, keep it low and patient.
💡 Taste in Two Stages: Taste once before blending to set the base seasoning, then taste again after blending because the cream and butter change the salt balance and you almost always need to adjust.
Garnish and Service
While the bisque was warming, I dealt with the garnishes. First, the pepitas went into a dry pan over medium heat for about three minutes, tossing them every forty-five seconds or so. When they started popping and smelling toasty, I pulled them onto a paper towel and hit them with a little salt. The crispy shallots I’d made before arriving. For the swoosh, I thinned the crème fraîche down with a spoon of cream so it was loose enough to drag with the back of a spoon.
When I ladled the bisque and set the bowls down, the table got quiet for a second. Not because anything dramatic happened. Because the first sip did what I needed it to do. It tasted like October.
💡 Warm the Bowls: A hot bisque in a cold bowl drops temperature fast. I rinse the bowls with hot water right before ladling. Takes ten seconds and keeps the first sip as good as the last.
Chef’s Notes
Plating: The standard move is a shallow bowl with the bisque ladled to about two-thirds full, a cluster of toasted pepitas across the center, and a thyme sprig laid over the top. That’s what I served that night. It looks composed without looking fussy.
Alternative plating ideas (pick one, not all):
- Small soup shooters in two-ounce glasses for a cocktail party pass-around format
- A wide flat bowl with crème fraîche pooled in the center and garnish stacked on top of it for a more dramatic restaurant look
- A mug presentation for casual fall dinners where the mood is cozy and not formal
Wine: A medium-bodied Viognier or an off-dry Alsatian Pinot Gris. Both have enough floral weight to echo the nutmeg without fighting the sweetness. If the table wants red, a light Pinot Noir works but keep it cool. Not cold, cool.
Prep and Scaling Notes
Prep ahead: The bisque base holds well in the fridge for three days. Make it through the blending stage, refrigerate it, and reheat low and slow before service. Do not add the garnishes until you’re ready to serve. The pepitas will go soft and the crème fraîche will melt in.
Scaling for service: This scales cleanly. Double it for eight, triple it for twelve. The only thing to watch is the blender volume. Blend in batches if you go above eight servings. Don’t fill the blender more than two-thirds.
Dietary swaps: Coconut cream instead of heavy cream for a dairy-free version. The flavor shifts a little tropical but the nutmeg and maple pull it back. Agave instead of maple if that’s what’s in the pantry. It works but it’s flatter. Alternatively, butternut squash instead of sweet potato for a different fall direction. Same technique, slightly less sweet, a little more earthy. If you go that route, the technique also ports over to our butternut squash ricotta ravioli where the squash leads the dish instead of riding a garnish.
Case No. 026
Sweet Potato Bisque
Ingredients
Equipment
Method
- Heat olive oil in a Misen stockpot over medium. Add shallots and a pinch of salt. Cook gently 3 to 4 minutes until soft and translucent, stirring occasionally.
- Add garlic and cook 30 seconds until fragrant. Do not let it brown.
- Add diced sweet potato and stir to coat in the aromatics. Pour in vegetable broth just to barely cover the potatoes. Add salt, white pepper, nutmeg, and optional cinnamon. Bring to a simmer.
- Cook 12 to 15 minutes until the sweet potatoes are completely soft. Test with a knife. No resistance means they are ready.
- Transfer everything to the Vitamix. Add heavy cream, butter, and maple syrup. Hold a towel firmly over the lid and blend on high for a full 90 seconds until the bisque is ultra smooth and glossy. Add a splash of broth or cream if too thick.
- Taste and adjust. More salt for balance, more maple for sweetness, more nutmeg for warmth. Blend for another 10 seconds after any addition.
- Return the bisque to the saucepan and warm over low heat until ready to serve. Do not boil.
- Toast pepitas in a dry pan over medium heat for 2 to 3 minutes, tossing every 45 seconds until they start popping and smell nutty. Transfer to a paper towel and season with a pinch of salt.
- Thin the crème fraîche with a small spoon of cream until it is loose enough to swoosh with the back of a spoon.
- Ladle bisque into warmed shallow bowls. Swoosh crème fraîche across one side. Scatter pepitas, add a drizzle of maple syrup, a few microgreens, and a pinch of crispy shallots. Serve immediately.
Notes
Filed Under: Equipment
Shop This Recipe

Misen 5-qt Stockpot
Check Price →
Vitamix 5200 Blender
Check Price →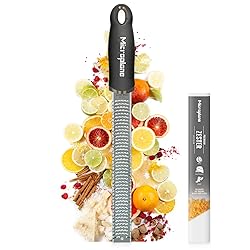
Microplane Zester Grater
Check Price →
Cutco 1738 Gourmet Prep Knife
Check Price →As an Amazon Associate I earn from qualifying purchases.
Evidence File
Loved this? The Evidence File has 3 more just like it.
A downloadable date-night menu from my private chef archive. Three courses, timed for a home kitchen, plated like the real thing.
Open the Evidence File — $14Did You Make This?
Rate this recipe.
If this recipe made it to your table, tap a star. It helps other home cooks find it.
Classified Access
Get the recipes before they’re public.
New case files. Chef’s notes. The stuff I don’t post anywhere else. Delivered weekly.